When we first get a new material, the first thing we need to do is try to figure out a best setting for it, that’s we are going to use the Lightburn to run a test grid. And find a best setting, normally we all use our eyes to judge it.
However, sometimes, presentation of the artwork may still be less than ideal. There can be many reasons for this and today I want to share about setting the grayscale value of an image.
First of all, we open up the Photoshop, and click the ‘file’, to build a new file, the size is doesn’t matter, just to create a new one. The ‘resolution’ is more important than that, you need to enter the appropriate DPI for your own machine here, due to mine is Diode Laser, so I need input 254 here. Then a new canvas had been set up.

Then press the ‘Create new fill or adjustment layers’ button and selected ‘solid color’ and then choose a color(whatever you wanna choose is okay, just avoid black and white.Then select the rectangle tool in the sidebar, and made a rectangle, and copy & paste as many rectangles as you need.

In the right panel, we need to bring up the color picker, and set the H values and S values of all rectangles to 0 and adjust the B (brightness) value only. Normally, you need to set the B value from 0 to 100, which means you will have 10 cubes and the B values are the 0, 5,10, 15, 20,...,100.

I also made a file that you can use directly, just in here. And you will see the change of the grayscale from 0 to 100, it will get more lighter.

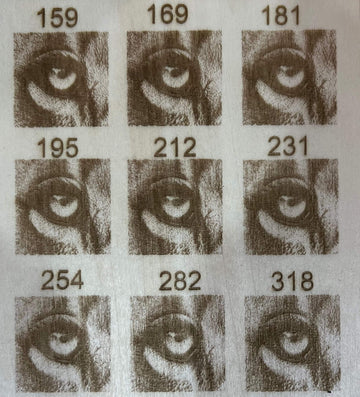
By using this file, you could figure out which value of the grayscale is more friendly for your image, and you can put your image into the Photoshop, and choose the ‘black & white’ , change the colorful image to a black&white image, and then selected the ‘level’ to change the ‘output levels’


Here is just for the comparison, the output value ultimately depends on the results of your previous tests.
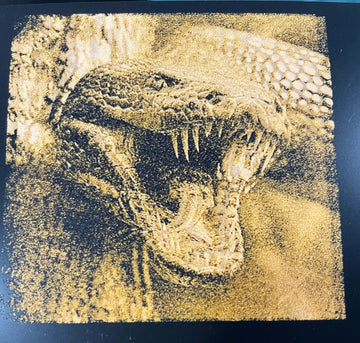
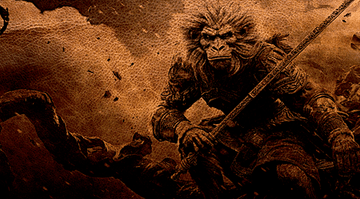
Then you can use imagR, which is a grateful software, and made a final adjustments to your images.
The picture down there is probably the final presentation.

Learn about Scratch Acrylic Materials: https://greatcarve.com/pages/scratch-acrylic
Learn about Scratch Leather Materials: https://greatcarve.com/pages/scratch-leather
GreatCarve Material Assessment: https://greatcarve.com/blogs/laser-engraving/greatcarve-material-assessment
Why you need a laser engraving Enclosure: https://greatcarve.com/blogs/laser-engraving/this-is-why-you-need-a-laser-engraving-enclosure
Scratch Acrylic - Unique fine engraving materials suggestion: https://greatcarve.com/blogs/laser-engraving/scratch-acrylic-unique-fine-engraving-materials-suggestion